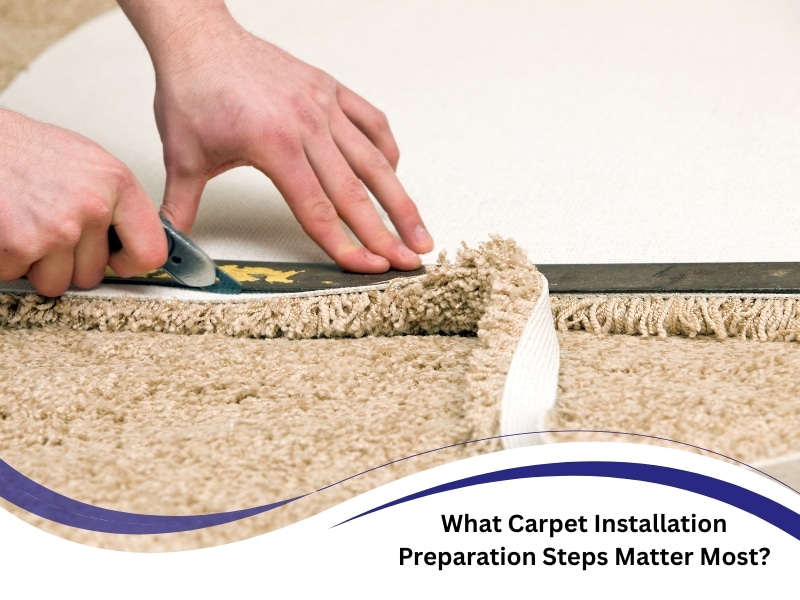
Ever wondered why some carpet installations appear flawless while others buckle and fray within minutes? The truth is, carpet installation preparation is the invisible hero behind every smooth, durable floor. Skipping it invites avoidable dramas—ripples, moisture damage, and costly repairs. Preparation shapes how the carpet settles, how long it lasts, and whether it feels solid underfoot or shifts like a wobbly dance floor. This crucial groundwork also saves time, money, and frustration when done correctly and with meticulous attention to every detail. This article outlines the essential steps to safeguard your investment, maintain a tidy home, and achieve a flawless finish from the outset, equipping you with the knowledge to make informed choices with confidence.
What should you remove before carpet installation begins?
Getting ready starts with a clear, hazard-free space. Even small items can delay progress or damage materials.
- Furniture and appliances: Large pieces block access and can damage the carpet if shifted later. Remove heavier items first to keep pathways clear and reduce the chance of injury.
- Decorative items, such as lamps, frames, and plants, require safe storage to prevent breakage. Even small décor can create tripping hazards during installation.
- Doors and thresholds: Removing doors ensures installers can stretch carpet evenly into corners. Keep hinges and hardware in a labelled bag for easy reinstallation later.
- Obstructive fixtures: Old tack strips and protruding nails must be cleared to avoid uneven layers. Take time to scrape adhesives so the new carpet sits flat.
When everything is removed, the team can focus on efficient carpet layers to ensure precise floor preparation rather than moving clutter. A clean slate makes all the difference.
Why does subfloor assessment matter before new carpet is installed?
Subfloor issues are often hidden until it’s too late. A thorough check prevents big headaches later.

- Surface level: Even minor dips lead to ripples and visible seams over time. Use a long straightedge to spot subtle depressions.
- Moisture content: Excess moisture can cause mould and weaken adhesives. Test in several spots, especially along exterior walls.
- Structural integrity: Cracks or loose boards compromise stability and reduce the lifespan of the carpet. Secure or replace damaged sections before proceeding.
- Old adhesives: Leftover glue interferes with new installation and leaves bumps. Remove with a scraper and solvent to create a clean bond surface.
Inspecting properly can feel tedious, but it’s the backbone of a solid foundation, for thoughtful planning, understanding seasonal pricing for carpet layers, which can affect booking timelines and preparation windows. Preparation here is worth its weight in gold.
How can carpet installation preparation improve long-term durability?
Done right, preparation can increase lifespan and prevent common issues. Skimp here, and the results show up quickly.
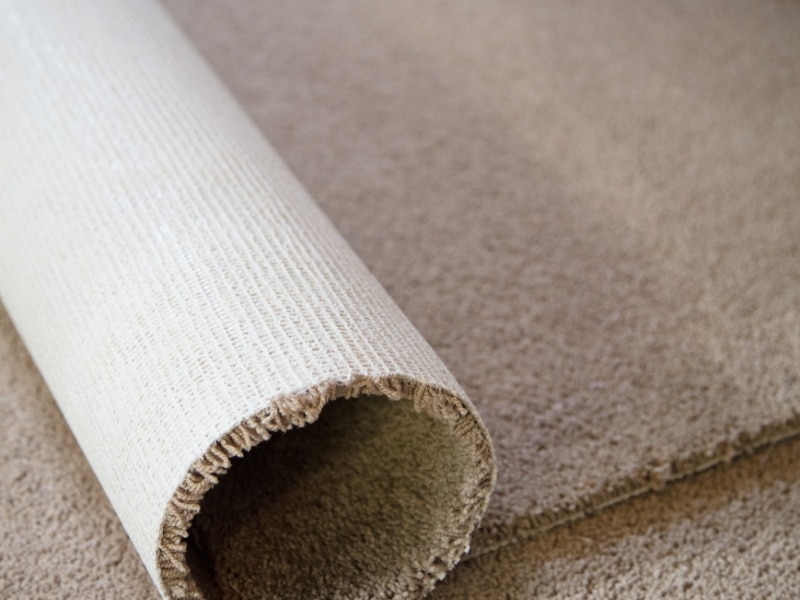
- Acclimatisation: Allowing the carpet to adjust to room temperature prevents later stretching. Leave rolls unwrapped in the space for at least 24 hours.
- Professional cleaning: Removing dust and oils ensures adhesives bond well. Pay extra attention to corners and edges, where debris tends to accumulate.
- Proper underlay: Quality underlay enhances insulation and provides a soft underfoot feel. Thicker options also provide better soundproofing between floors.
- Edge securing: Fixing tack strips correctly stops fraying and lifts over time. Double-check that strips are evenly spaced and anchored firmly.
Preparation protects every fibre and helps the carpet stay noticeably more robust underfoot. To understand the health impacts, consider how carpet choices affect indoor air quality, which is directly linked to preparation quality and ventilation during installation.
What tools do you use to prepare for carpet installation?
Having the right tools smooths the process and delivers professional results.
- Knee kicker: Stretches carpet tightly into corners for a smooth finish. Adjust the tooth depth to suit different pile heights.
- Utility knife: Cuts clean edges without fraying. Always use fresh blades to avoid tearing delicate fibres.
- Staple gun: Anchors underlay firmly and prevent shifting. Test a few staples in scrap material to set proper pressure.
- Moisture meter: Identifies hidden damp spots that lead to mould. Record readings to track drying progress over time.
- Measuring tape: Confirms dimensions to avoid costly miscuts. Measure twice—especially around doorways and recesses.
Here’s a quick reference showing what each t
Using proper gear means fewer visible seams and wrinkles. It’s the smart way to work.
Are professional services essential to achieve a quality result?
Not everyone wants to tackle installation on their own. Professionals bring experience and efficiency that’s hard to match.
- Issue spotting: Experienced installers detect problems early, avoiding delays. They also know how to adjust for unusual floor layouts.
- Specialist equipment: Access to commercial-grade tools enables faster and neater work. This reduces downtime and clean-up.
- Warranty protection: Professional work often carries product warranties. These can save significant money if issues arise later.
- Product knowledge: Installers understand how different carpets react to pressure and heat. They’ll recommend best practices for each type.
Still, if you plan to DIY, preparation matters more than ever. For added confidence, consider insulation options for energy-efficient flooring, which can inform your approach and enhance long-term performance. A little research here pays off.
When should you schedule carpet installation preparation to avoid delays?
Timing can make or break a smooth install. Avoiding delays starts with intelligent scheduling.
- Weather considerations: Warm, dry days help adhesives appropriately set. This reduces the chance of trapped moisture.
- Lead times: Place your carpet order early to avoid supplier backlogs. Some styles may take weeks to arrive.
- Acclimatisation: Allow time for the carpet to adjust to your home’s conditions. Sudden temperature swings cause expansion and contraction.
- Flexibility: Build a buffer in case the prep uncovers hidden damage. Schedule a day or two extra for subfloor repairs.
Even with the best plans, timing surprises can pop up. Staying organised reduces stress and results in significantly less disruption to daily life.
Final thoughts
Preparation isn’t glamorous, but it’s the reason carpets look crisp and last for years. From clearing out old fixings to checking every square metre of the subfloor, the small details protect your investment. Each step contributes to a final result that feels comfortable, looks professional, and stands the test of time without constant maintenance worries. For a smoother process, learn how Cosy Group makes flooring preparation simple.